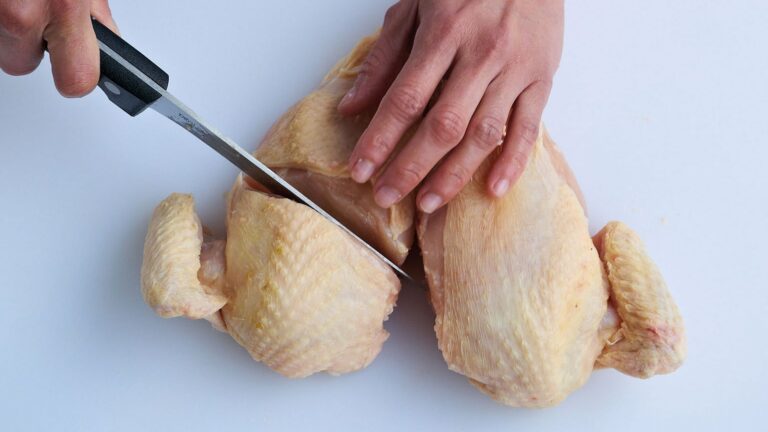
As whole chickens are often the same price as a couple of breast pieces, it makes sense to know how to joint a chicken yourself and use the portions you don’t need in other dishes. Cooking with joints that include bones rather than boneless portions will also result in a much more delicious sauce.
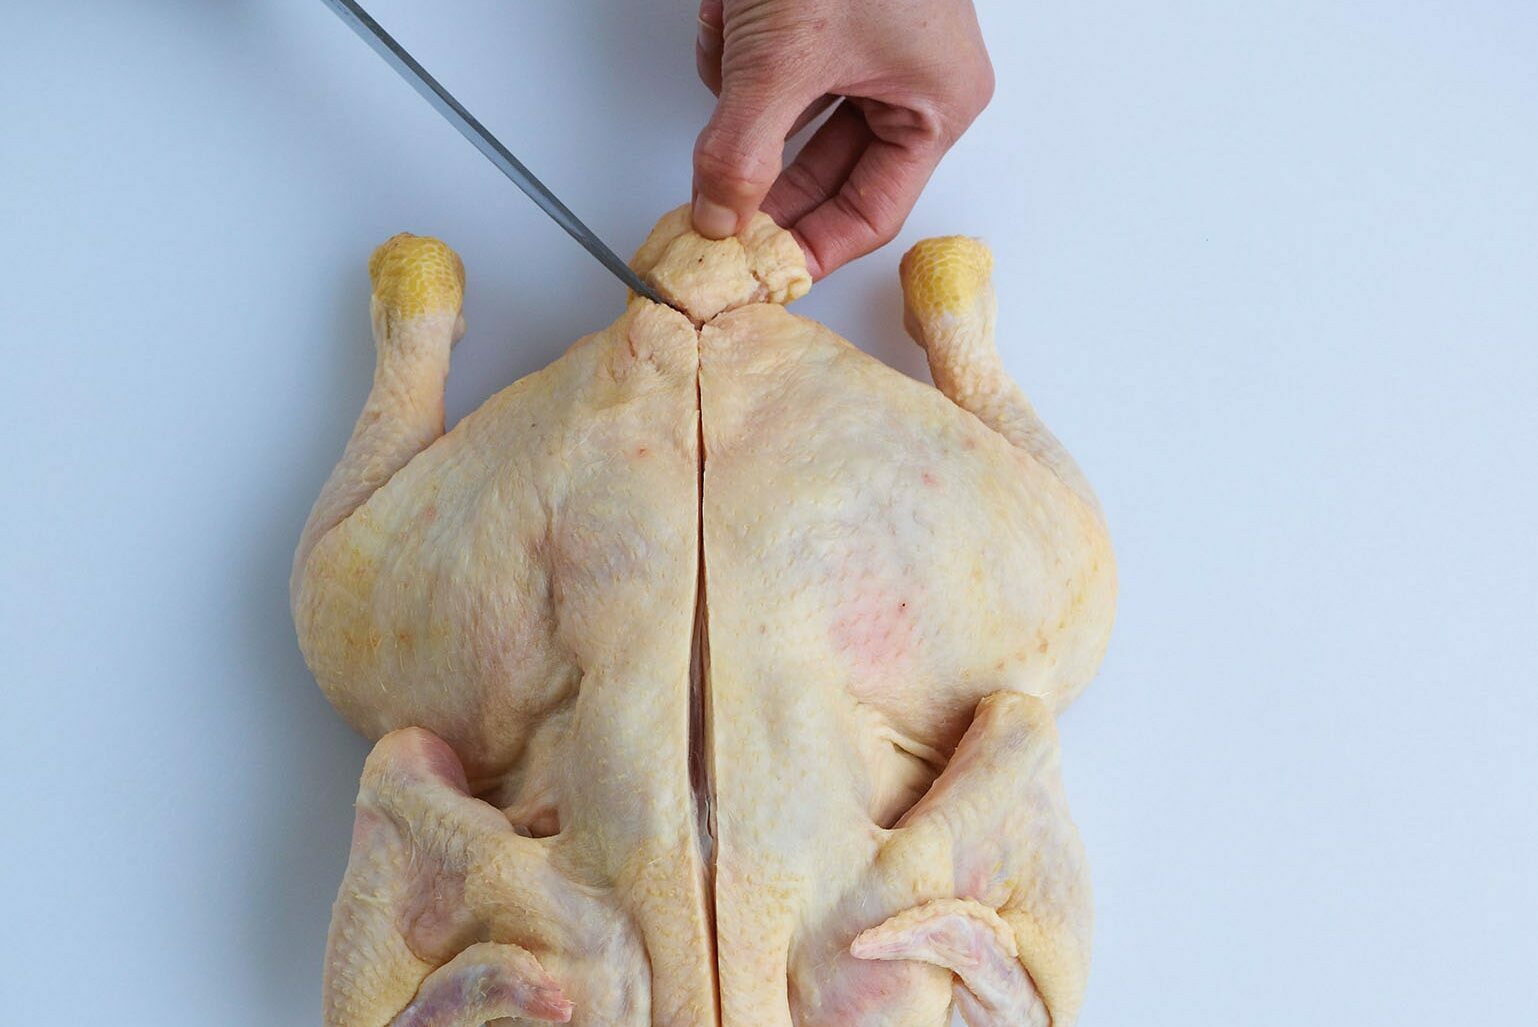
1. Cutting either side of the parson’s nose.
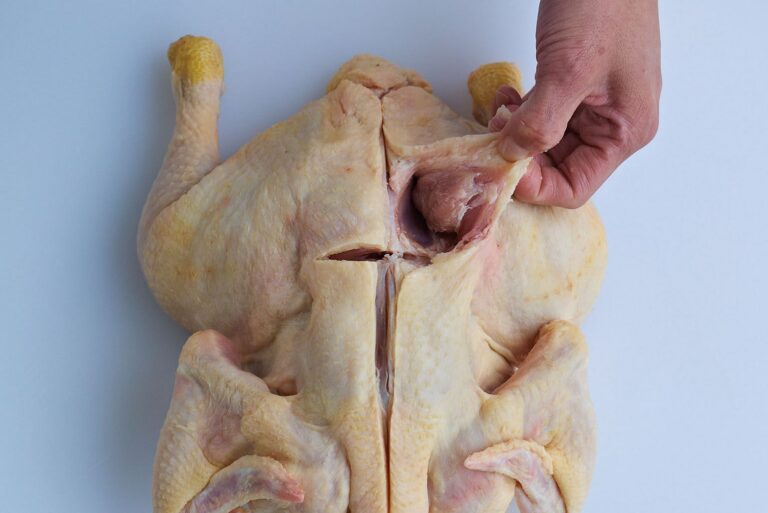
2. Releasing the oysters.
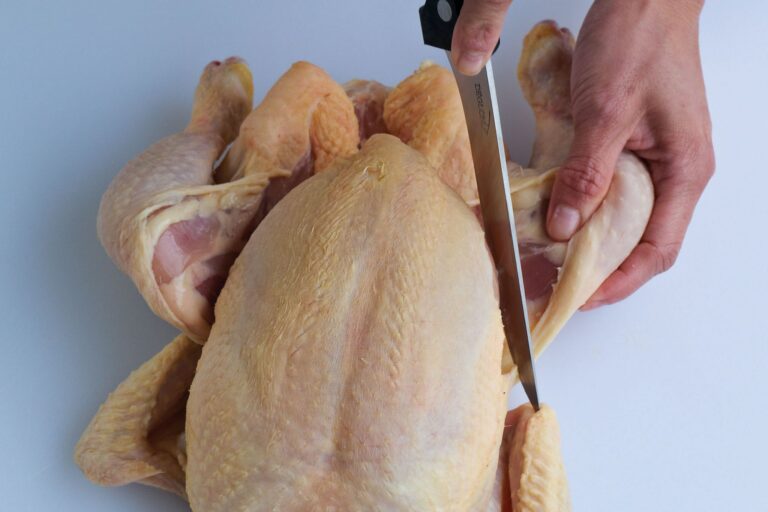
3. Cutting between the drumstick and breast to the joint holding the thigh to the carcass.
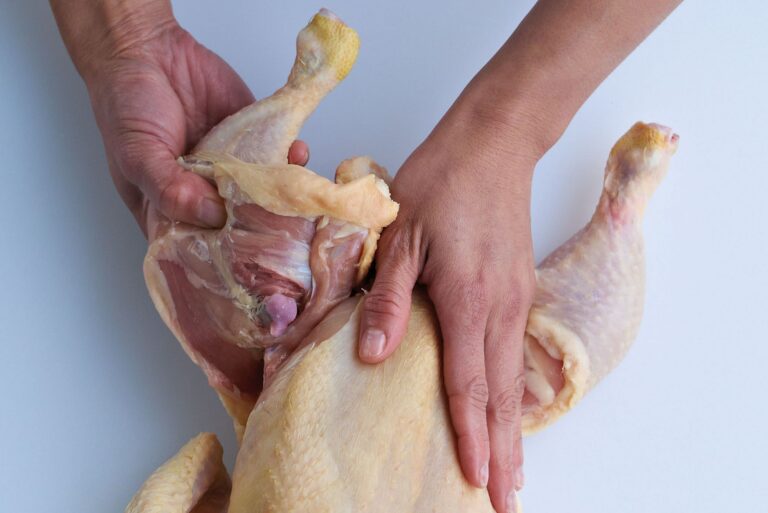
4. Pulling the thigh/leg back to release it from the carcass.
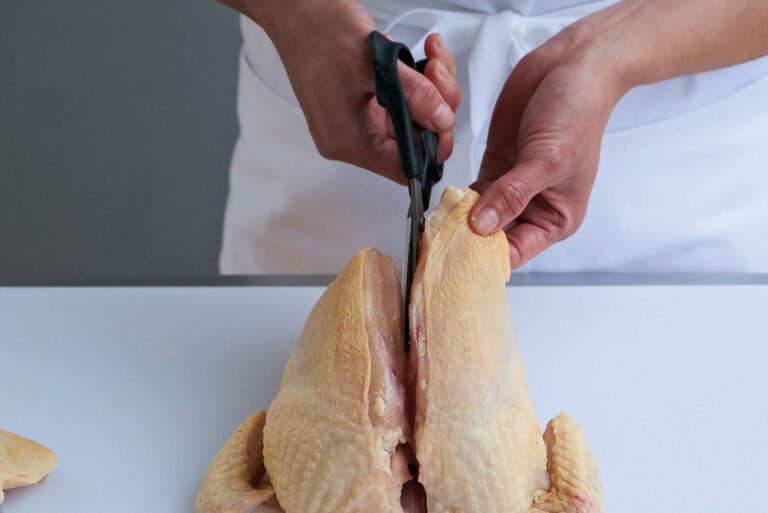
5. Cutting through the breast bone.
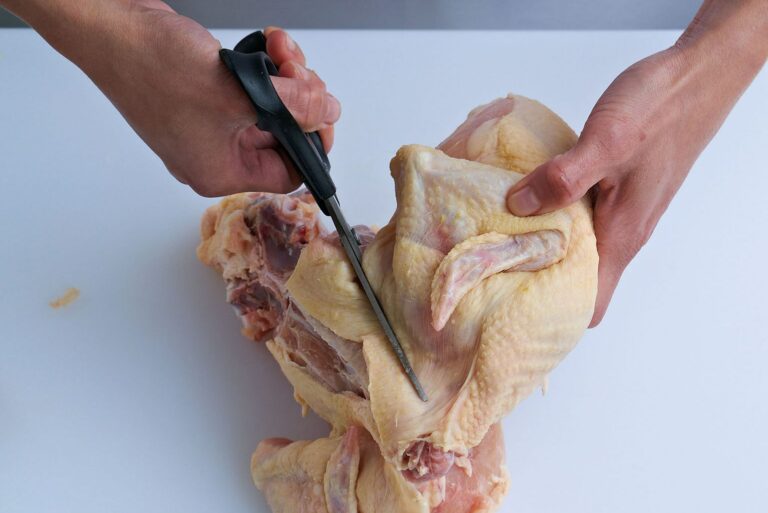
6. Cutting through the ribs.
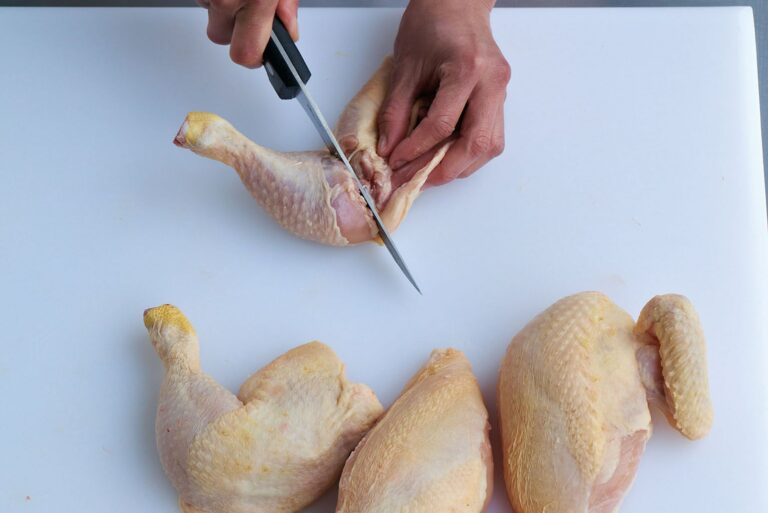
7. Cutting through the thigh/leg to divide in two.
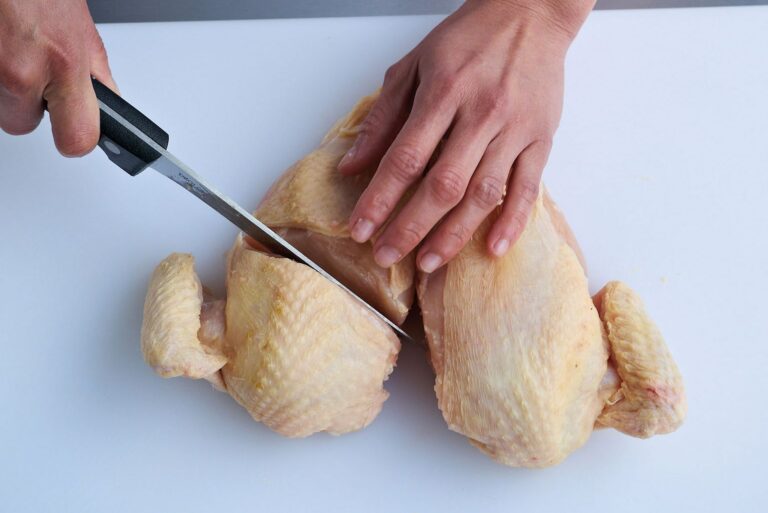
8. Cutting the breasts pieces in two.
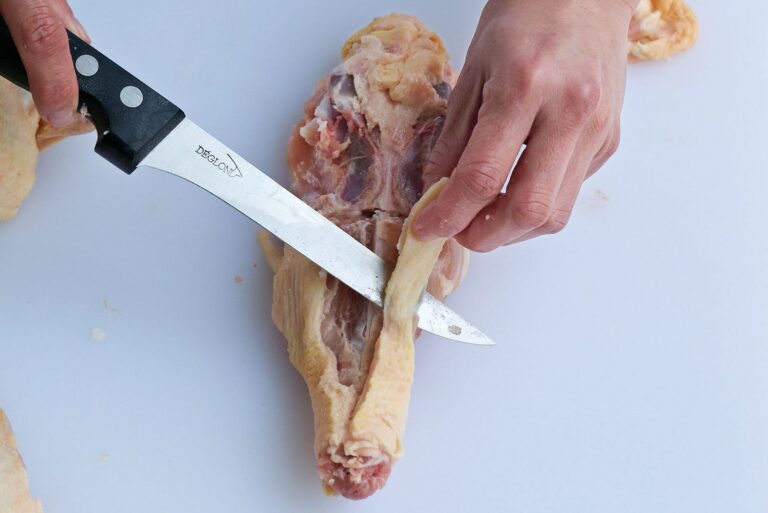
9. Trimming the carcass of excess fat.
Instructions
- Place the chicken breast side down on a board with the neck end away from you. Make a cut through the skin, down the middle of the carcass, from the neck end to just above the parson’s nose. Make a cut on either side of the parson’s nose.
- Identify the oysters, which lie on the carcass at the top of the thigh. Make a cut across the top of the oysters, then release the sinew holding the oysters in place with your knife and release the oysters with your thumb.
- Now turn the chicken so it is breast side uppermost, still with the neck end away from you. Pull the skin over the breast to ensure it is fully covered. Cut between the drumstick and breast, keeping the knife close to the breast, but on the outside of the carcass bone at the entrance to the cavity, until the joint holding the thigh to the carcass is exposed. Do the same on the other side. Place your fingers under the thigh and your thumb on top of it and push up with your fingers to ‘pop’ the thigh joint. Repeat on the other side.
- Tilt the chicken to one side, pulling the thigh/leg backwards towards the carcass, helping to expose the oyster. Release the oyster using a knife and continue to pull back the thigh/leg. You will need to release the tendons holding the thigh bone to the carcass. Once this is done, pull the thigh/leg back towards you to release the joint from the carcass. Repeat on the other side and put the thigh/leg pieces on one side.
- Now turn the chicken breast side uppermost and stretch the skin over the breast. Cut down one side of the breast bone – either side will do, but not both – until the knife blade comes into contact with bone. Use a pair of kitchen or poultry scissors to cut through the breast bone completely.
- Put the chicken on its side and from the point of the breast, using the scissors, cut through the ribs following the fat line around the wing and through the wing joint. Repeat on the other side; it might be easier to start at the wing end.
- Now the 4 pieces need to be divided again. Place the leg/thigh pieces skin side down on the board and, using your knife, cut through the joint, using the fat line covering the joint as a guide. If the knife comes into contact with the bone, move the knife a little to the left or right and try again. It should cut cleanly through the joint. Repeat with the second leg/thigh piece.
- To divide the breast pieces, tuck the attached wing tips behind them, then take an imaginary line from the bottom of the wing to the ‘cleavage’. Cut through the meat with your knife, then through the bone with a pair of scissors to leave a diamond shaped tapering piece of breast and a smaller, but thicker, piece with the wing attached. Trim off the end wing pinion. The chicken should now have been jointed into 8 pieces.
- The carcass can be trimmed of excess fat and used for making stock.
